Monday, June 16, 2014

OCD Sewer's Tip #1

I like to make pattern-fabric assignments as soon as I get the fabric in the sewing room.   But it can take many weeks, if not months, for me to get around to actually sewing the fabric.  So I had to come up with a way to remind me what pattern has been assigned to which fabric.  Enter Avery labels!

I print the pattern information and line drawing on Avery labels and stick the label to the fabric.


What could be easier!  Yes, I could stick just the pattern number on the fabric, but the technical drawing provides information and inspiration.  Two months from now, I won't remember that V8792 is a t-shirt with diagonal seams. If the picture is on the label, that won't be a problem.  I can also prioritize using the labels.  It's easier to decide what blouse I want to make by just looking at the technical drawings and fabrics together.

Thursday, June 5, 2014

Declaring Victory

"When Alexander saw the breadth of his domain, he wept for there were no more worlds to conquer."

I know how Alexander the Great must have felt.  I conquered Burda Style Magazine patterns and now I'm asking myself, "What next?"  For me,  Burda Style Magazine patterns were the most difficult patterns out there.  I was determined to conquer the vague, poorly translated instructions and lack of illustrations.  My plan of attack was to adopt an "All Burda – All The Time" assault.  I rarely sewed patterns from other companies.
 Burda was definitely my pattern company of choice.  Now that I can sew Burda Style Magazine patterns without trepidation, I am declaring victory.  Mission accomplished. I am ready to relax my "All Burda" restriction.

Vogue 8857
Vogue 8792
I've always loved the design details included in Burda Style Magazine patterns.  I sew plus size patterns and Burda Style often had designs and design details that were not available on McVoguerick's plus size patterns.  But sometimes, I want something simple like a plain short sleeved blouse.  I found Vogue 8857 to fill that need.  I wanted a t-shirt, but not your every day t-shirt.  Vouge 8792 was perfect.   Burda has so many more options when it comes to dresses.  However, I was inspired by a dress chosen by Carolyn at Diary of a Sewing Fanatic .  (Who hasn't been inspired by Carolyn?)   I wonder how many perfectly good patterns I never saw because I was obsessed with beating Burda Style into submission?
V8995

There is a downside to my re-acceptance of McVoguerick patterns.  Now, there is the chance that I will begin buying patterns that I never get around to sewing.  I might begin stalking Jo-Ann's pattern sales.  I was just beginning to have a pattern stash when I launched my attack on Burda.  As a matter of fact, avoiding a huge pattern stash was one of the reasons I went "All Burda".  I still love Burda Style Magazine patterns, first and foremost.  Now that I've conquered them, I feel free to use a wider variety of patterns.  Maybe the next world I try to conquer will be Marfy Patterns!

Monday, May 26, 2014

Wedding Addendum

When I posted about DDs wedding dress, I didn't have a picture to show the bustling.  I now have a picture to show that feature.


That's it – no more wedding stuff!  I promise!


Friday, May 23, 2014

Finished: BSM 05-10-138

I had to sew this dress in small doses.  I fell out of love with the dots and the fabric was silky and hard to control.  The dress was not as much fun as it could have been.

Pattern Description
Dress with high waist, bust pleats and sleeve pleats.

Pattern Sizing
European plus range: 44 - 52

Fabric Used
Silky polyester.  The fabric was a little unruly during cut-out.  I had to cut the front bodice lining twice because the fabric moved so it was impossible to line up the dart legs.

Pattern Alterations or Design Changes
I've learned it's best to raise the necklines in most Burda Style patterns.  I raised the neckline one inch.

Construction
The bodice front is underlined.  I used self-fabric as the underlining.  Because the fabric was so slippery, I used a walking foot to keep the fabric together and prevent the top layer from "growing".  My walking foot is my most underused and under appreciated foot.  There have been times when I should have used it, but I didn't consider or even remember it.

To install the zipper, I used a technique found in 10-20-30 Minutes to Sew (Nancy Zieman, 1992)  The technique in the book uses a conventional zipper, but it works just as well with an invisible zipper. Using this method, the facing is sewn to the zipper tape by machine rather than by hand.  It's a good looking finish.

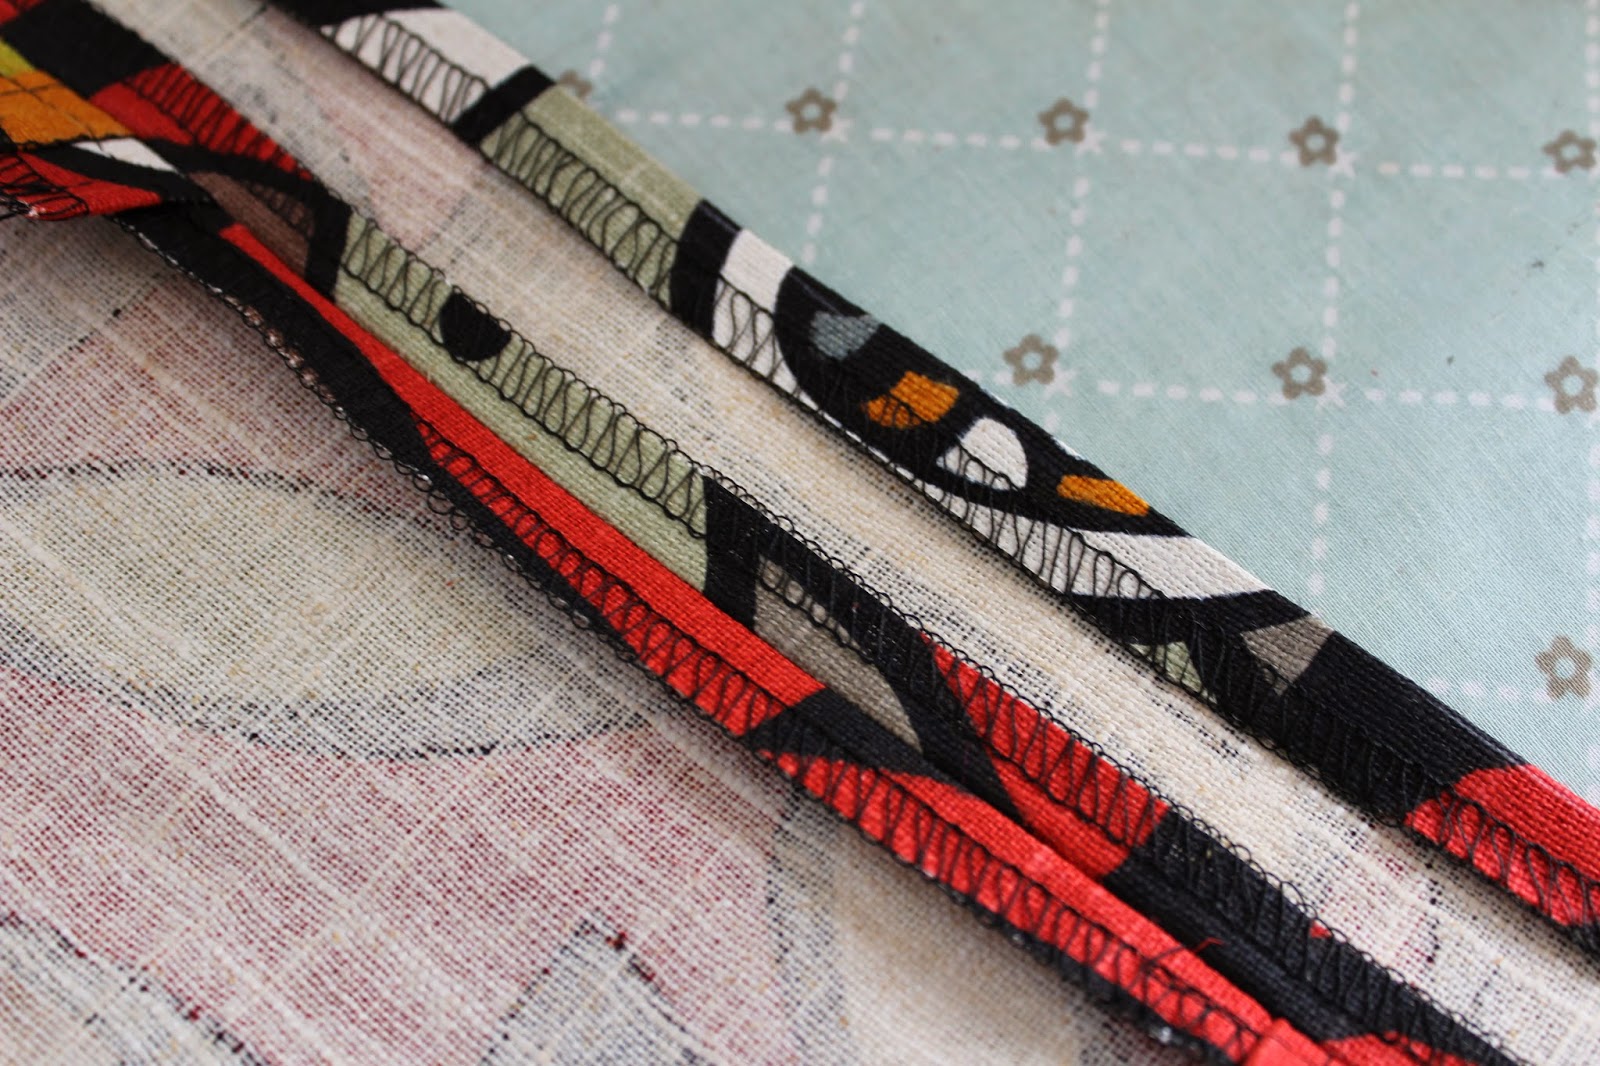
The sleeve is finished with a bias band.  Since the fabric was so slippery, I basted rather than pinned the band in place.  The result was a neatly sewn narrow band.
The bust pleats are a little funky.  They provide ease in the bust area that I don't need.   I looked at another review for this dress on Pattern Review.  One of us had our pleats going in the wrong direction.  I won't say which one of us had the pleats going in the wrong direction, but I will say the other sewer didn't appear to have the same bust funkiness I had.
Dare I say it?  Making a muslin would have shown this to me.  But I wouldn't have known how to adjust it anyway, so why bother?  (Bad attitude.  I know.)

Conclusion
This dress is not one of my favorites.  I like the silhouette, but once again, I could have made a different fabric choice.  The weight of the fabric is appropriate for the pattern.  It's light weight for summer, but the color says fall.


Wednesday, May 14, 2014

Finished: BSM 07-2012-135


Should I let an interesting design detail make me lose my good sense?  I think I look best in full skirts, but can a novel feature, like exposed darts, inspire me to change my mind?  You bet it can! I normally wouldn't wear a dress with an obvious waist either.  But, if exposed darts can make me forgo a full skirt, they can make me wear a dress with an obvious waist.

Pattern Description: Short sleeved dress with exposed darts.

Pattern Sizing:  European plus range – 44 - 52
  
What did you particularly like or dislike about the pattern?  I loved the exposed darts

Fabric Used:  Linen.  I love sewing linen even though it wrinkles like crazy.  But what fabric makes a better summer dress than linen?

Pattern alterations or any design changes you made:  I raised the neckline.  Sometimes I think the designers at Burda have a fixation on cleavages.  (Do they bottle feed or breast feed in Germany?)  The original design had exposed darts at the hemline.  I omitted these darts because I didn’t want a tapered skirt.  I wanted as much fullness in the skirt as I could possibly get.

Construction:  I ordered two rolls of Swedish Tracing Paper and they arrived just as I was tracing this pattern.  Since I had to alter the plunging neckline, I decided to try the STP.  Using the STP, I was able to sew the darts in the bodice and draft the new neckline and facing while the darts were sewn.  I don’t think it would have been as easy if I’d traced the bodice on the artist’s tracing paper I normally use.

The exposed darts are the main design feature of this dress.  In addition to the exposed darts on the front and back, the sleeves have darts rather than easing.  The darts are made exactly like any other dart.  The only difference is they are sewn with wrong sides together.  The dress was very easy to sew together.  Thanks to Burda’s excellent drafting, the bodice and skirt fit together perfectly.

The sleeves edges are finished with a facing rather than a hem.  I'm sure there is a reason for this, but I don't know what that reason might be.  Perhaps the length of the sleeve makes a facing a better option than turning up a hem allowance.  I think it looks classy.

Conclusion:  
I am really enjoying making dresses.  One of the reasons I like Burda Style Magazine patterns is the variety of dress styles offered.  I had far too few dresses in my closet and I glad to add this dress to my wardrobe.
 

Thursday, May 8, 2014

I'm So Glad I Can Sew!

In high school and again in college, I took a photography class as an elective.  Back then, I believed I would pursue photography as a hobby. It would have meant having a dedicated room in which to pursue the hobby and spending lots of money on supplies.  (Sounds a lot like sewing, doesn’t it?)  In those days you needed chemicals to process photographs.  These days, it’s easier to practice photography because you don't need darkrooms, enlargers, or dangerous chemicals.  Now that I’m semi-retired, I’ve decided to rekindle my interest in photography.  I bought myself a digital SLR camera for Mother’s Day and enrolled in classes for digital photography and Photoshop Elements. 

The digital photography class is held in downtown Philadelphia.  I hate driving in downtown traffic and paying exorbitant parking fees.  And, I wasn’t happy about carrying a conspicuous camera bag on public transportation.  I searched my tote bag stash and found reusable grocery bags I sewed years ago.  This grocery bag was the perfect size for carrying the camera bag and a notebook to class.  There was one problem: the fabric I used made it look like a grocery bag.   

So why does all of this make me so glad I can sew?   I had a very specific need and I was able to fill it by sewing.  I bought some really fun home dec fabric from JoAnn and sewed another, more suitable bag.  If I hadn’t sewn this bag, I probably would have bought an expensive Vera Bradley tote bag.  (Vera Bradley has become my go-to source for tote bags).  Sewing this bag was so much more fun and economical.  I’d seen the bird fabric in JoAnn and I often wished I had a project in which to use it. 

Camera bag tucked neatly inside 
This bag has features I really like and make it a perfect “camera bag”.   Plastic mesh canvas is inserted into a sleeve and placed in the bottom of the bag. 


This provides more support for the camera (or groceries) than just the fabric.  Also, The corners and bottom of the bag are sewn to give the bag definition. 


During construction, I used a technique I first saw demonstrated by Louise Cutting.  She recommends pressing a seam open whenever seam allowances have to be pressed back on themselves.  This prevents the seam from rolling to one side or the other.  This technique was perfect for attaching the facing to the top of the bag.


I was so excited about making this camera bag, I decided to make two of them.  JoAnn’s Waverly Home Dec fabrics were on sale and I had a 50% off coupon for the second fabric.


When I make the second bag, I may put velcro in the top to keep it closed.


The directions for sewing this bag are here: